 whatsapp


WELCOME TO ECO HOUSE !WELCOME TO ECO HOUSE !WELCOME TO ECO HOUSE !


News
20/11/25
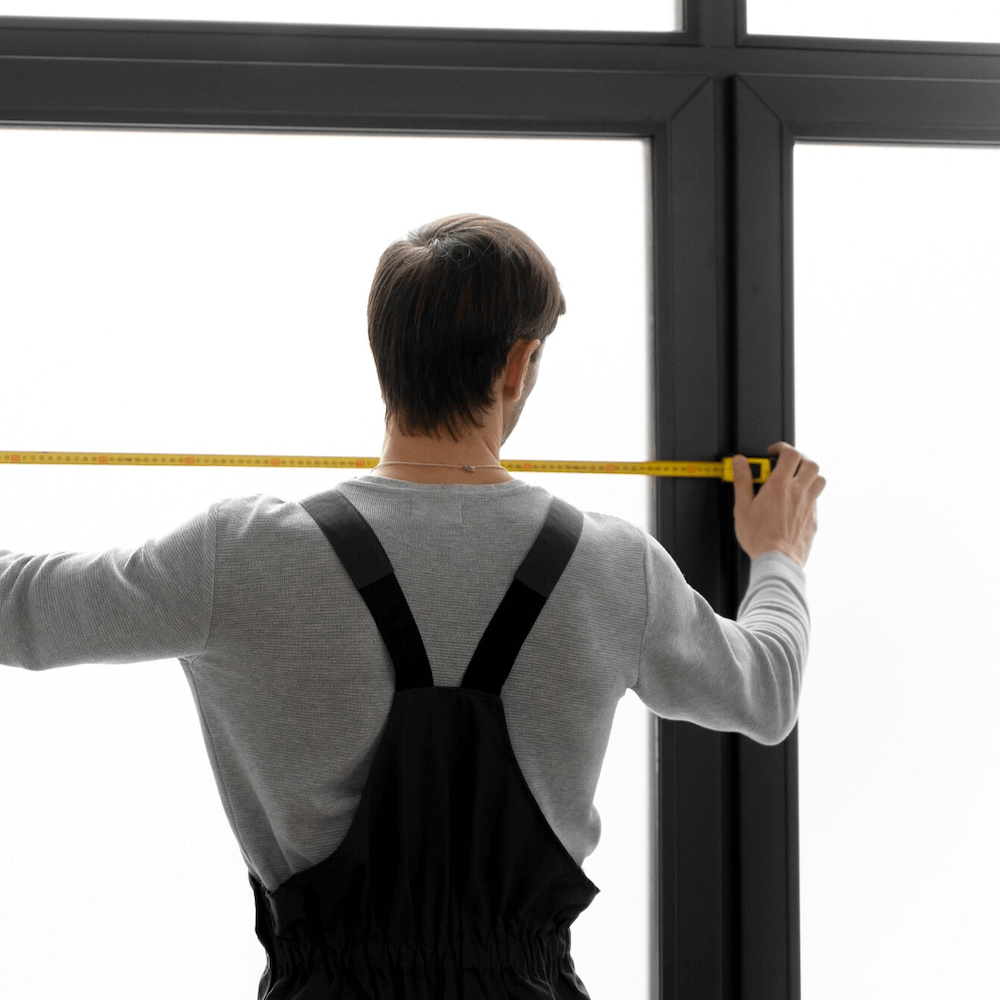
How to Take Accurate Measurements for PVC Windows
Precise measurements are essential for proper PVC window installation. Errors can lead to drafts, misalignment, and extra costs. Here’s a step‑by‑step guide to measure your opening correctly.
What you’ll need:
- tape measure (5–7 m);
- level (laser or spirit);
- notebook and pen;
- camera (to document the opening’s features).
Step 1. Preparation
Clear the area around the window. Remove curtains, furniture, and any obstructions.
Step 2. Measure the width
- Take three readings: at the top, middle, and bottom of the opening.
- Record the smallest value.
- Subtract 2–6 cm for mounting gaps.
Step 3. Measure the height
- Take measurements on the left, in the centre, and on the right.
- Note the smallest value.
- Deduct 2–3 cm at the bottom (for the sill plate) and 1–2 cm at the top (for expansion gaps).
Step 4. Check the geometry
- Use the level to detect any vertical or horizontal deviations.
- Pay attention to rebates (ledges): if present, add 2–3 cm on each side for the window fit.
- Mark any irregularities or distortions — they affect final dimensions.
Step 5. Record the data
- Carefully write down all values.
- Label each measurement (width, height, notes).
- Photograph the opening from different angles.
Key tips:
- Measure inside the opening.
- Consider the windowsill and drainage sill if they remain in place.
- If in doubt, consult a professional: a 5–10 mm error can compromise installation.
Conclusion:
Accurate measurements save time and money. Take your time — double‑check every dimension.
What windows do you like the best?
Which kind of windows would you prefer If you were going to replace the old ones in your house or apartment?
uPVC Windows and Doors in Egypt. Any color of turn, tilt and turn, tilt sliding, sliding, parallel sliding system, arched non standard PVC windows. Mosquito nets, roller and lower shutter, jalousie in double glass or triple glazing by Super Spacer technology. Painted and bend uPVC profile, stained glass. Painting and bending PVC profile WINSA Carina, Vela. Maintenance and Repairing
Eco House Joint Stock Company partner of Deceuninck Group | Copyright 2009-2026. All rights reserved.
E-mail: info@ecohouse-eg.com, tel.: +201212288828
Site www.ecohouse-eg.com is for informational purposes only and under no circumstances is not a public offer. For more information on the cost of materials, products and services, please contact the sales offices
